
How to Clean and Maintain Dry Erase Surfaces
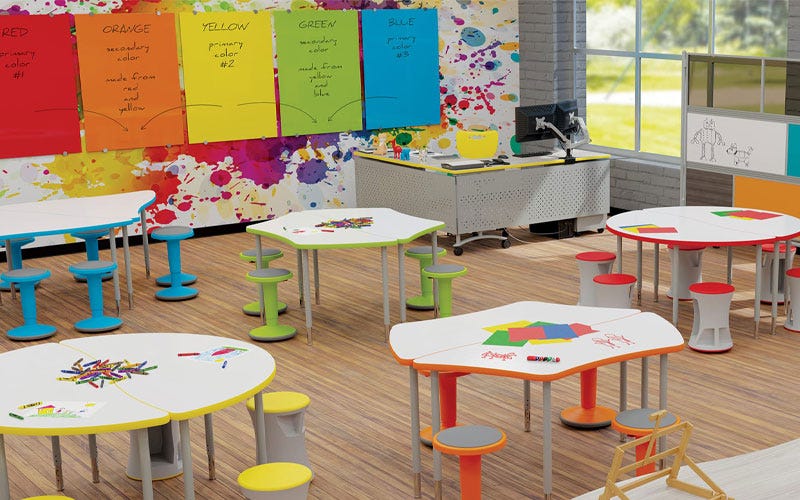
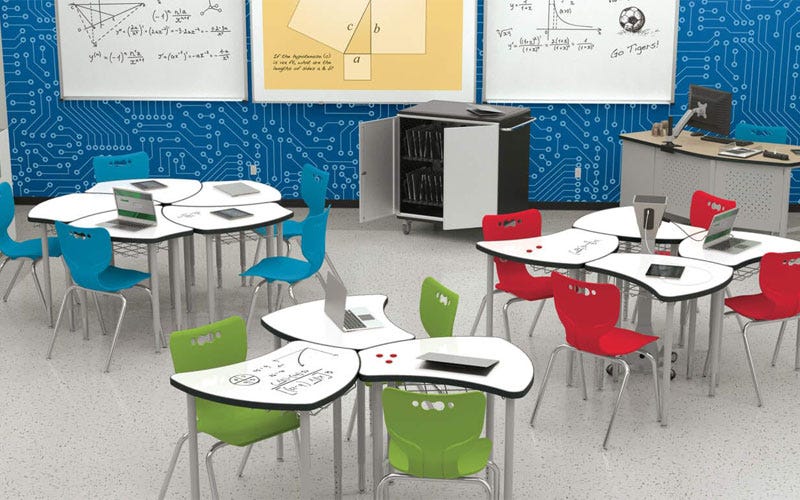
Dry erase surfaces are used throughout schools because they make writing, drawing, brainstorming, and collaboration easy to build into the school day. You may find dry erase materials on classroom whiteboards, mobile whiteboards, glass boards, dry erase tables, student desks, activity tables, teacher desks, and other flexible learning furniture.
While today’s dry erase surfaces are designed for frequent classroom use, they still need regular care. Marker residue, dirty erasers, dust, fingerprints, tape, adhesive, and writing left on the surface too long can all lead to staining, ghosting, or a board that becomes harder to erase.
The best cleaning routine depends on the type of dry erase surface. Dry erase melamine or laminate, painted steel, porcelain steel, and glass boards can look similar in a classroom, but they do not always have the same durability or cleaning requirements.
Common Types of Dry Erase Surfaces in Schools
Before choosing a cleaning method, it helps to know what type of surface you are maintaining. Always follow the manufacturer’s care instructions for your specific product.
| Surface Type | Common School Use | Care Notes |
|---|---|---|
| Dry erase melamine or laminate | Dry erase tables, student desks, activity tables, and economy whiteboards | Clean frequently and avoid harsh chemicals or abrasive tools. These surfaces may show ghosting sooner than higher-end boards. |
| Painted steel | Magnetic classroom whiteboards and mobile boards | Use quality dry erase markers and regular cleaning to reduce residue and ghosting. |
| Porcelain steel | High-use classroom boards, lecture boards, and shared learning spaces | Very durable and generally more resistant to ghosting, staining, and heavy daily use. |
| Glass boards | Modern classrooms, offices, collaboration spaces, and conference areas | Non-porous and easy to clean. Use glass cleaner or approved board cleaner with a microfiber cloth. |
Before First Use
Wipe the surface with a clean microfiber cloth. If the manufacturer recommends it, clean the board with an approved dry erase cleaner before the first classroom use.
Daily Cleaning for Dry Erase Surfaces
Daily cleaning is the best way to prevent buildup. Marker ink becomes harder to remove when it sits on the board for long periods, especially in busy classrooms where boards are used throughout the day.
- Erase writing at the end of each class period or school day whenever possible.
- Use a clean dry erase eraser or microfiber cloth.
- Replace or clean erasers when they become saturated with marker dust.
- For residue, wipe the surface with a clean microfiber cloth slightly dampened with water or approved cleaner.
- Dry the surface with a clean cloth before writing on it again.
A dirty eraser can spread ink residue instead of removing it. If a board begins to look cloudy, streaky, or difficult to erase, the eraser may need to be cleaned or replaced.
Weekly Deep Cleaning
In most classrooms, dry erase surfaces benefit from a deeper cleaning at least once a week. High-use rooms may need more frequent cleaning, especially if boards are used for math work, group brainstorming, schedules, or student practice.
- Use a non-abrasive dry erase board cleaner or a manufacturer-approved cleaner.
- Apply cleaner to a microfiber cloth rather than spraying heavily onto the surface.
- Wipe the board using light, even pressure.
- Use a clean damp cloth to remove any cleaner residue if needed.
- Dry the surface completely before using the board again.
Avoid oversaturating the surface, especially on dry erase tables, melamine boards, laminate surfaces, or boards with seams and edges where liquid could collect.
How to Remove Ghosting
Ghosting happens when faint marker marks remain after erasing. It is often caused by ink left on the surface too long, low-quality markers, a dirty eraser, or cleaning residue that has built up over time.
- Apply a small amount of non-abrasive whiteboard cleaner or 70% isopropyl alcohol to a clean microfiber cloth.
- Do not pour or spray alcohol directly onto the board surface.
- Rub the affected area gently using steady pressure.
- Wipe the area with a clean damp cloth if needed.
- Dry the surface completely before writing again.
To prevent ghosting, erase boards daily, clean them weekly, and keep erasers clean. Porcelain steel and glass boards are generally more resistant to ghosting than melamine or laminate dry erase surfaces.
How to Remove Permanent Marker from a Dry Erase Board
Permanent marker accidents happen in classrooms. In many cases, the mark can be removed without harsh cleaners.
- Cover the permanent marker completely with a fresh dry erase marker.
- Wait only a few seconds.
- Wipe both marks away immediately with a clean microfiber cloth.
- Repeat if needed.
- Finish by wiping the surface with approved cleaner and drying it thoroughly.
If the mark remains, use a small amount of 70% isopropyl alcohol on a microfiber cloth. Test first in an inconspicuous area when working with melamine, laminate, or older dry erase surfaces.
Special Care for Glass Boards
Glass boards are non-porous, which makes them highly resistant to staining and ghosting. For everyday care, wipe the surface with a clean microfiber cloth and glass cleaner or an approved board cleaner.
- Use microfiber cloths to reduce streaking.
- Clean fingerprints and marker residue regularly.
- Use markers recommended for glass boards for best visibility.
- Dry the surface after cleaning to prevent streaks.
- Avoid abrasive pads or powders that could scratch the glass.
Special Care for Dry Erase Tables and Desks
Dry erase tables and desks receive more contact than wall boards. Students may write directly on the surface, lean on it, place books on it, or use it during group activities. That makes routine cleaning especially important.
- Erase marker writing at the end of each activity or school day.
- Clean the surface regularly with a soft cloth and approved cleaner.
- Use only dry erase markers recommended for the surface.
- Keep permanent markers, paint pens, and sharp tools away from dry erase tops.
- Use project mats or paper for glue, paint, cutting, or messy STEM activities.
- Do not use the dry erase surface as a cutting board.
Dry erase markerboard tables are often used for collaborative group work, small-group instruction, and interactive learning, so keeping the writing surface clean helps students and teachers use the table as intended.
Cleaners and Tools to Avoid
Dry erase surfaces can be damaged by the wrong cleaning products. When in doubt, start with the gentlest method and follow the manufacturer’s instructions.
- Do not use abrasive powders or scouring pads.
- Do not use harsh solvents unless approved by the manufacturer.
- Do not use waxes, polishes, or oil-based cleaners.
- Do not use dirty erasers that spread old marker residue.
- Do not leave tape, adhesive, or sticky notes on the surface for long periods.
- Do not allow liquids to pool around seams, trim, edges, or table bases.
Dry Erase Surface Care Do’s and Don’ts
Do
- Do erase writing at the end of the day.
- Do use clean microfiber cloths or clean dry erase erasers.
- Do clean high-use boards weekly.
- Do use approved whiteboard cleaner or glass cleaner for the correct surface type.
- Do apply cleaner to the cloth rather than soaking the surface.
- Do replace erasers when they become saturated with marker dust.
- Do use high-quality dry erase markers.
Don’t
- Do not write on the protective film of a new board.
- Do not leave marker writing on the surface for long periods.
- Do not use permanent marker unless the product is intended for that use.
- Do not use abrasive cleaners, scouring pads, or rough brushes.
- Do not use wax, polish, or oil-based cleaners.
- Do not allow cleaning liquid to pool near seams, frames, or table edges.
- Do not cut, scrape, or use sharp tools directly on dry erase table surfaces.
Final Dry Erase Surface Cleaning Checklist
- Remove protective film before using a new board.
- Use the right markers for the surface.
- Erase writing daily whenever possible.
- Clean dry erase boards and tables weekly, or more often in high-use classrooms.
- Use microfiber cloths and clean erasers.
- Use non-abrasive dry erase cleaner or 70% isopropyl alcohol for ghosting when appropriate.
- Use the dry erase marker method for accidental permanent marker marks.
- Keep liquids away from seams, edges, frames, and table bases.
- Avoid abrasive tools, harsh solvents, waxes, polishes, and oil-based cleaners.
- Follow the manufacturer’s care instructions for your specific dry erase surface.
With regular care, dry erase surfaces can stay clean, bright, and easy to use throughout the school day. Whether your classroom uses melamine or laminate dry erase surfaces, painted steel whiteboards, porcelain steel boards, glass boards, or dry erase tables, consistent cleaning helps protect the writing surface and keeps learning spaces ready for collaboration.
Worthington Direct carries dry erase furniture and boards from trusted school furniture brands including MooreCo, Best-Rite, Marco Group, Ghent, and Smith System. These brands offer options such as markerboard student activity tables, glass boards, porcelain steel desks and boards, and other dry erase surfaces built for daily school use.
For help comparing board types, surfaces, and classroom use cases, see our Dry Erase Board Buying Guide as an additional resource for choosing the right dry erase surface for your school.


