How to Care for Unfinished Natural Butcher Block
Why Condition Butcher Block?
Taking good care of your butcher block wood is the key to preserving its beauty and durability. By conditioning it regularly, you not only prevent it from drying out and staining but also ensure it remains strong and resistant to splitting. When you maintain any natural wood surface, you're essentially safeguarding it from excess moisture both inside and out. Conditioning your butcher block establishes a protective barrier, effectively halting these potential issues in their tracks.
How Often Should I Oil My Natural Butcher Block Countertops?
No matter where you teach or the weather your region experiences, here's a simple maintenance routine to ensure your classroom's butcher block surfaces always look fantastic:
Winter Months:
When indoor heating dries out the air, aim to condition it about once a month.
Dry Summers & Low Humidity Regions:
In regions with dry summers and low humidity, a monthly conditioning is recommended.
Balanced Climate:
If you're fortunate to be in a place with a balanced climate, you can extend the time between conditionings to a more relaxed 6-8 weeks.
Taking care of your butcher block can be a breeze with the right routine!

How to Maintain Your Natural Butcher Block:
- Start by giving your butcher block a gentle wipe-down with a slightly damp cloth.
- Use a kitchen scraper to remove any stubborn bits stuck on the surface.
- For light stains, a razor blade can come to the rescue if necessary.
- When tackling deeper stains, opt for 180 and then 220 grit sandpaper. Keep in mind that the sanded area may lighten in color.
- After sanding, wipe the butcher block once more with a slightly damp cloth to clear away debris and dust.
- Run your hand over the counter to ensure it's entirely free of any grit or debris.
- Now, it's time to pamper your butcher block! Apply the conditioner generously, drizzling it onto the surface, and use a lint-free cloth to spread it evenly.
- Allow the conditioner to soak in. The time needed can vary, from as little as an hour to potentially overnight, depending on the room's temperature and humidity.
- Allow the conditioner to soak in. The time needed can vary, from as little as an hour to potentially overnight, depending on the room's temperature and humidity.
With these simple steps, your butcher block will stay in top-notch condition and be ready to serve you well!
How to Repair UV Coated Butcher Block
Depending on the damage that has occurred, there are two types of repair.
Type 1:
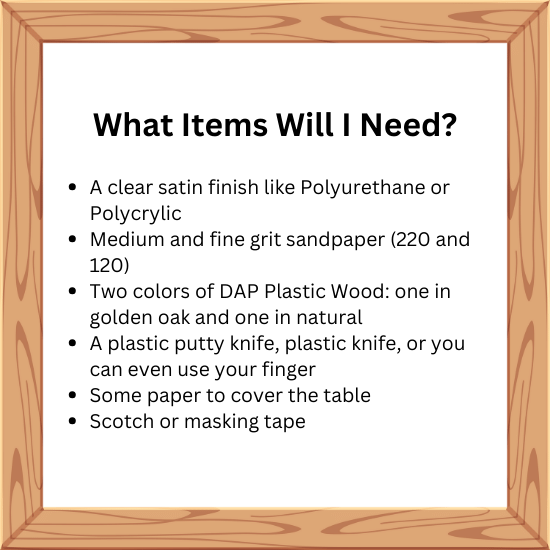
- Color Matching: To achieve the perfect match for your maple butcher block, blend a small amount of golden oak color with the natural shade until it harmonizes seamlessly.
- Application: You have options here—whether you prefer a plastic knife, spackle knife, or the tactile approach of your own finger, spread the mixture evenly over the damaged area. Be sure to remove any excess plastic wood; this step sets the stage for smoother sanding later.
- Drying Time: Allow the plastic wood to dry as per the manufacturer's instructions, typically taking 2-6 hours, depending on the depth of the gouge. Patience pays off.
- Sanding: Once your plastic wood has fully dried, grab some fine to medium-grade (220) sandpaper. Your aim is to level out any rough spots. Then switch to a finer grit (120 or lower) to create a consistently smooth texture, seamlessly blending the repaired area with the rest of your cherished butcher block.
- Clean-Up: First, ensure you've removed all debris and dust from the area where you'll be spraying. Keep it tidy and focused, especially if it's just a scratch—no need to go overboard.
- Prepare the Surroundings: Lay down some copy paper or newspaper around the perimeter of the repair zone and secure it in place with tape. This simple step will allow you to apply a light and fine mist of "shot spray" over the repaired area without worrying about overspray.
- Spraying Technique: When you're ready to spray, keep a little distance rather than getting too close. This will ensure a smooth application. The paper barrier will effectively prevent any overspray from reaching the rest of your table.
- Multiple Coats: After the first coat dries, go over it with a second and eventually a third coat. While the sheen from the Polycrylic or Polyurethane Satin finish spray may not be an exact match to our UV coating, it's close enough that only specific lighting and angles will reveal any difference.
Type 2:
area(s) that you are repairing! If it’s just a small scratch, then keep the area isolated while sanding!
- Isolate and Sand: Begin by isolating the small area with the scratch. Then, using a fine grit (120 or lower) sandpaper, gently smooth out the surface scratch. Remember to take your time and focus only on the area you're repairing.
- Care and Caution: As mentioned earlier, it's crucial to emphasize the importance of sanding only the specific area you're working on. Even for small scratches, keep your sanding efforts contained to avoid unnecessary alterations.
- Sand Until It's Gone: Carefully continue sanding the scratched area until the scratch has visibly disappeared. This process will remove the UV coating, but don't worry; we'll restore it shortly.
- Prepare for Spraying: Next, ensure the area is free of debris and dust as you prepare to spray the repaired spot. Lay down some copy paper or newspaper around the perimeter of the repaired area and securely tape it in place. This setup will enable you to apply a light and fine mist of "shot spray" over the repaired area without affecting the rest of the table.
- Multiple Coats for Perfection: Allow the first coat to dry and then apply a second, and eventually a third coat. While the sheen from the Polycrylic or Polyurethane Satin finish spray may not be an exact match to our UV coating, rest assured that it's close enough. Any differences will only become apparent under specific lighting and angles.


We accept payment through ClassWallet
We are an approved ClassWallet vendor and you may email sales@worthingtondirect.com for a quote or submit an online quote request to get your transaction started.